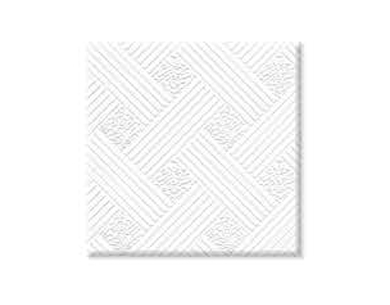
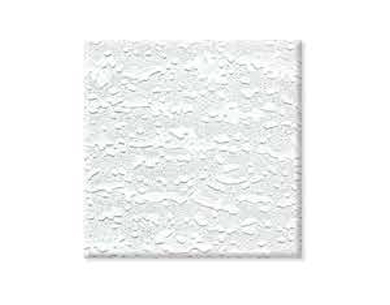
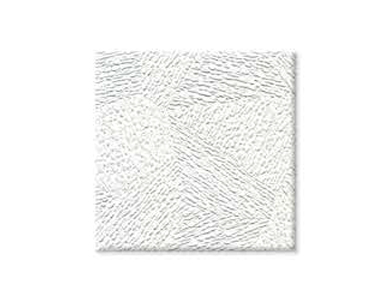
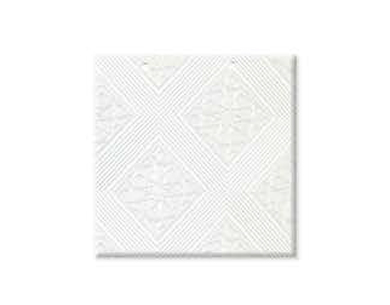
Grid Suspension for gypsum Tiles
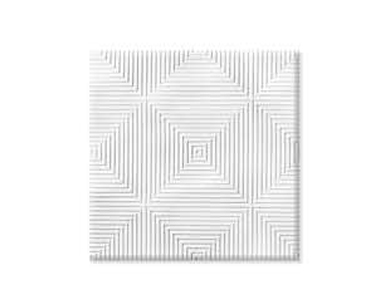
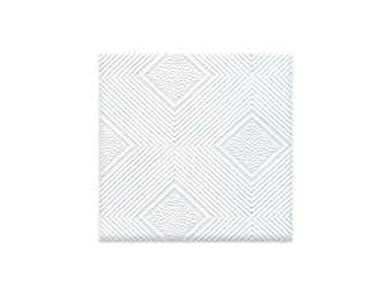
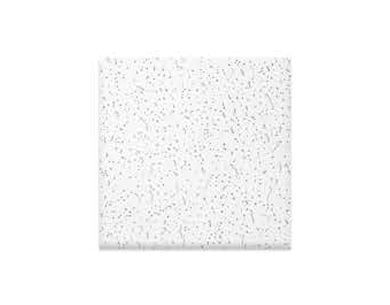
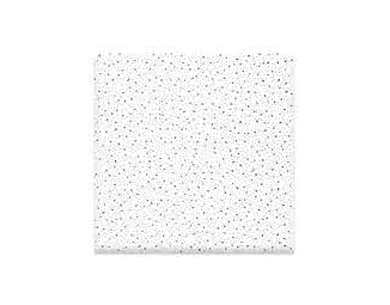
Brooer T-Grids suspension system with Gypsum Tiles is a highly durable acoustic tile for the suspension ceiling in Rooms with Stringent Requirements for the Good Hygiene and cleaning .The Surface is a white Reinforced preprinted, that is particularly scratch resistant and tolerates high and low –pressure washing and cleaning with disinfectants. Brooer grid system installation using corrosion proof grid system is recommended in humid and wet environment. The reinforced and durable surface makes the product suitable even in areas that are particularly subject to wear such as e.g. School and office corridors and changing room of Gem etc.
Brooer Guarantee of quality of their products, we are proud of our ability to consistently supply high quality gypsum based, acoustic for the benefit and comfort of our customers and end-user.
Brooer Suspended Ceiling System offers numerous suspension system and edge detail options to help meet your design needs. Select a grid system and match it with a corresponding panel edge detail, or vice versa, to assure proper system fit and assembly. Either system integrates seamlessly with Brooer acoustical & gypsum ceiling panels to provide an extensive range of options whether it is for acoustic, aesthetic or budget reason. The systems differ in design, compatibility with certain styles of panels and the resulting appearance of the finished ceiling.
Features and benefits
- World most advanced manufacturing facilities and technology ensure highest grid quality.Cross tee with override-ends resists twisting and give a professional finished look with no exposed steel
- edges.
- Fully compatible with square-edge and reveal-edge ceiling tile.
- Hot dipped steel galvanization coating
- system on grid components resists corrosion and rust.
- Patented QRC (Quick Release Clips) are easy to remove
- without tools, fast to install, ensure grid module squareness and firmness.
- Comply with ASTM C 635 standards.
Prior to installation, Brooer ceiling and gypsum tiles products must be stored clean, dry area with a relative humidity
and not subject to any abnormal conditions.
T-Grid24 mm (Main Tee/Cross Tee/Angle)

T-Grid 15mm (Main Tee/Cross Tee /Angle)
T-Grid 15mm Black Grove (Main Tee/Cross Tee/Angle)

Installation of Brooer T-Grids 24 / 15mm and Black Grove with gypsum tile
The placement of the wall angle should be marked with a bubble level/chalk line and mounted with a flatheaded screw suitable for the foundation per max. 300 mm, the first screw one no more than 50 mm from a corner. The wall angle should not be shorter than 300 mm. cut the profiles in close meter at the corner joints. If the foundation is uneven mount a thin wooden list behind the wall angle.
Hangers for the main beams should be placed in rows per 1200 mm. The first main beam max. 300 mm from the wall. First hanger in main beam max. 300 mm. from the wall. The other hangers per max. 1200 mm. The
hook of the hanger is squeezed together with a pair of Pliers. The hangers should be adjusted, so the main beam is elevated 44 mm above the wall angle. At the longitudinal assembly of the main beams the couplings should be pushed together until they click. The cross-lock connectors are to be placed with a center distance of 600 mm on the main beam (maximum 600 mm from the wall). The tap in the connector should aligned with the vertically slot in the main beam. The connectors should be pushed down on the main beam until they click. Connect the
cross profile to the main beam, by twisting the cross profile onto the cross-lock connector. This is done by placing the legs of the connector into the dedicated cut-outs on the cross profile. For safety and for a stabile connection between the main beam and the cross profile, fold the locking mechanism on the cross lock connector with a pair of Pliers. Make final adjustments to the grid system, to make sure that the cross profiles is elevated 6 mm above the wall angle.
This means that the cross profiles and main beams are located above the wall angle. Ones the grid system is adjusted, every second main beam should be connected to the wall with a connecting bracket. This is due to better stability in the grid system. When installing the gypsum tiles, use cotton gloves. Lift one side of the tile, the Eedge, up above the cross profile. Then slide the opposite side of the tile, the D2 edge, into the opposite cross profile. When the tile is mounted in the grid system, it can be slide into place. All installations should be finished before mounting the gypsum tiles. Always start in the center of the room, when laying the tiles into the grid system. When mounting the last tile against the wall, place 2 wall springs for each tile. The wall springs is installed
before the last tiles are laid into the grid system.